Sep 12, 2014

All Season Shrug

It's raining outside and I feel like putting together something cozy for myself, so I started this shrug here.

It indeed is cozy but light again as the yarn I am using is a cotton knitting yarn of size 4. Because of its weight and texture, it can be worn in any kind of weather so I termed it as an "all weather shrug".

I chose an ombré delight of pink, peach, and yellow and it simply looks fabulous on me. 

I have started on it already, but with a baby on board who demands my undivided attention, I am crocheting in a snail's pace, so I don't exactly know when I'll be done with it and when I get to show it off here!

A sample swatch here goes:

Jun 4, 2014

Multipurpose basket

A thank you gift for my mother, this basket I crocheted using two contrasting colored yarn which made it look so great.

It's been a long time since I wrote. Yes, seems like I missed a month from my life. Haha, it's just that shifting back home has made me that responsible housewife apart from my motherly duties.
Taking care of our little one has not been a cakewalk exactly, yet me and Veeru have been enjoying our life back together once again.

Coming back to the crochet project that I am actually writing about, I had made a small sized basket for my mother as a thank you gift for all the help she had been all these months, during and post my pregnancy.
Well, she said it was put to great use. When asked to explain, she merely said that she was using it as a flower basket to hold flowers in it for her morning puja.

Here are some clicks. Someday I'll make a larger one! I so love making baskets.


Apr 29, 2014

My first travel booties

Made with leftover yarn, these travel friendly booties are quite easy to make.

It's a simple process, better than many other bootie making ways, You just have to keep on crocheting without cutting off Or joining or anything. You can make these in a single go or if you are in a hurry.

Like I said, we were leaving for Chennai the very next day, so I had about roughly about half a day to finish crocheting and also do the packing. I am so obsessed with crochet and knitting that I completely left the packing for later and sat to crochet these "Tony Bunnies" as I named them.


Apr 11, 2014

Golgappa aka Pani puri aka Puchka

If you need a burst of irresistible mouthwatering flavors in a single bite , you need to try this:

Traditionally called Pani puri, known more commonly as Golgappa in the North-eastern states or even called as Puchka across the whole of North India, this snack is an epic in itself.
One puri is never enough... You will keep asking for more.

Eaten as a combination of small bite sized puris, stuffed with boiled potato and topped with tangy - spicy water(Pani) , these are irresistible.

Scroll down for the home made recipe:

For the Pani:
One raw mango peeled and boiled
Chopped Coriander - one cup
Mint leaves - one cup
Green chillis, two
Black salt or normal salt to taste
Water

Squeeze the boiled mango pulp and grind it along with all other ingredients. Sieve it into a jar by pouring enough water. Refrigerate the Pani for about 2 hours or until use.

For the potato stuffing:
2 large potatoes
Salt to taste
Red chilli powder

Boil the potatoes and peel and smash them by adding salt and chilli powder.

For the puris:

Ingredients:
1/2 tbsp maida/all-purpose flour
2 tbsps urad dal flour
1 1/2 cups ravva/semolina/sooji (very fine variety)
salt to taste
water for kneading (bottled soda water prefered)
oil for deep frying

1. Combine all the mentioned ingredients (except oil for deep frying), adding water slowly and make a dough. Leave aside covered with damp cloth for 15 mts. (very imp step)
2 . While the dough is resting. (i) Prepare the pani (water) required for the puchka. (ii) Boil two potatoes, peel and mash. Combine the mashed potato with little salt and red chilli pwd and keep aside until use. (iii) Chop a large onion finely and keep aside until use.
3. Knead the dough again. Pinch off some dough and make very small balls. Roll out small thin rotis, using the rim of a container to cut out the round shape. Keep them covered.
4. Heat enough oil for deep frying in a heavy bottomed vessel. It should be on medium high (the oil should not be piping hot) and once its hot, slide few rotis into the hot oil and using the back of the ladle, press in the center and along the edges and you will find it will puff. Flip over and fry the other side till light golden brown. Don’t fry too much as it will turn too dark. Remove onto absorbent paper.
5. Cool and store in an air tight container and use when required.

Note: Ensure the oil is hot enough before frying the puri. If the oil is not hot enough, the puri will absorb a lot of oil. If made ahead of time, lightly warm in oven for 3-4 mts before serving. Ensure to roll out very thin puris. And use very fine sooji.

Alternately, you can buy readymade puris in the local store. Saves a lot of time!

Assembling:
Make a hole by crushing a little of the top surface of the puris with your thumb.
Stuff the open puri 1/4th with the potato stuffing. You can add Sev and onions at this point.
Pour the chilled tangy Pani over into the puri and immediately gobble it in a single mouthful.

I'm sure you won't stop with one!!


Mar 7, 2014

Baby booties with pom-poms

Our little boy's naming and cradle ceremony (traditionally called "Barasala") was on March 5th.
I wanted him to be the show stopper for the day. Veeru got him a nice little sherwani suit.
to match it up, I crocheted this bunch of booties.
I measured baby's foot toe to heel and across as well.
Used simple single crochet, HDC, and slip knots to finish this up.

Aren't they cute???


I bought the NACO Pirlanta wool for the booties.
You can purchase yarn/ crochet thread and other supplies here: http://www.ponycraftstore.com/

BTW, we named him Divyanshu.

Jan 28, 2014

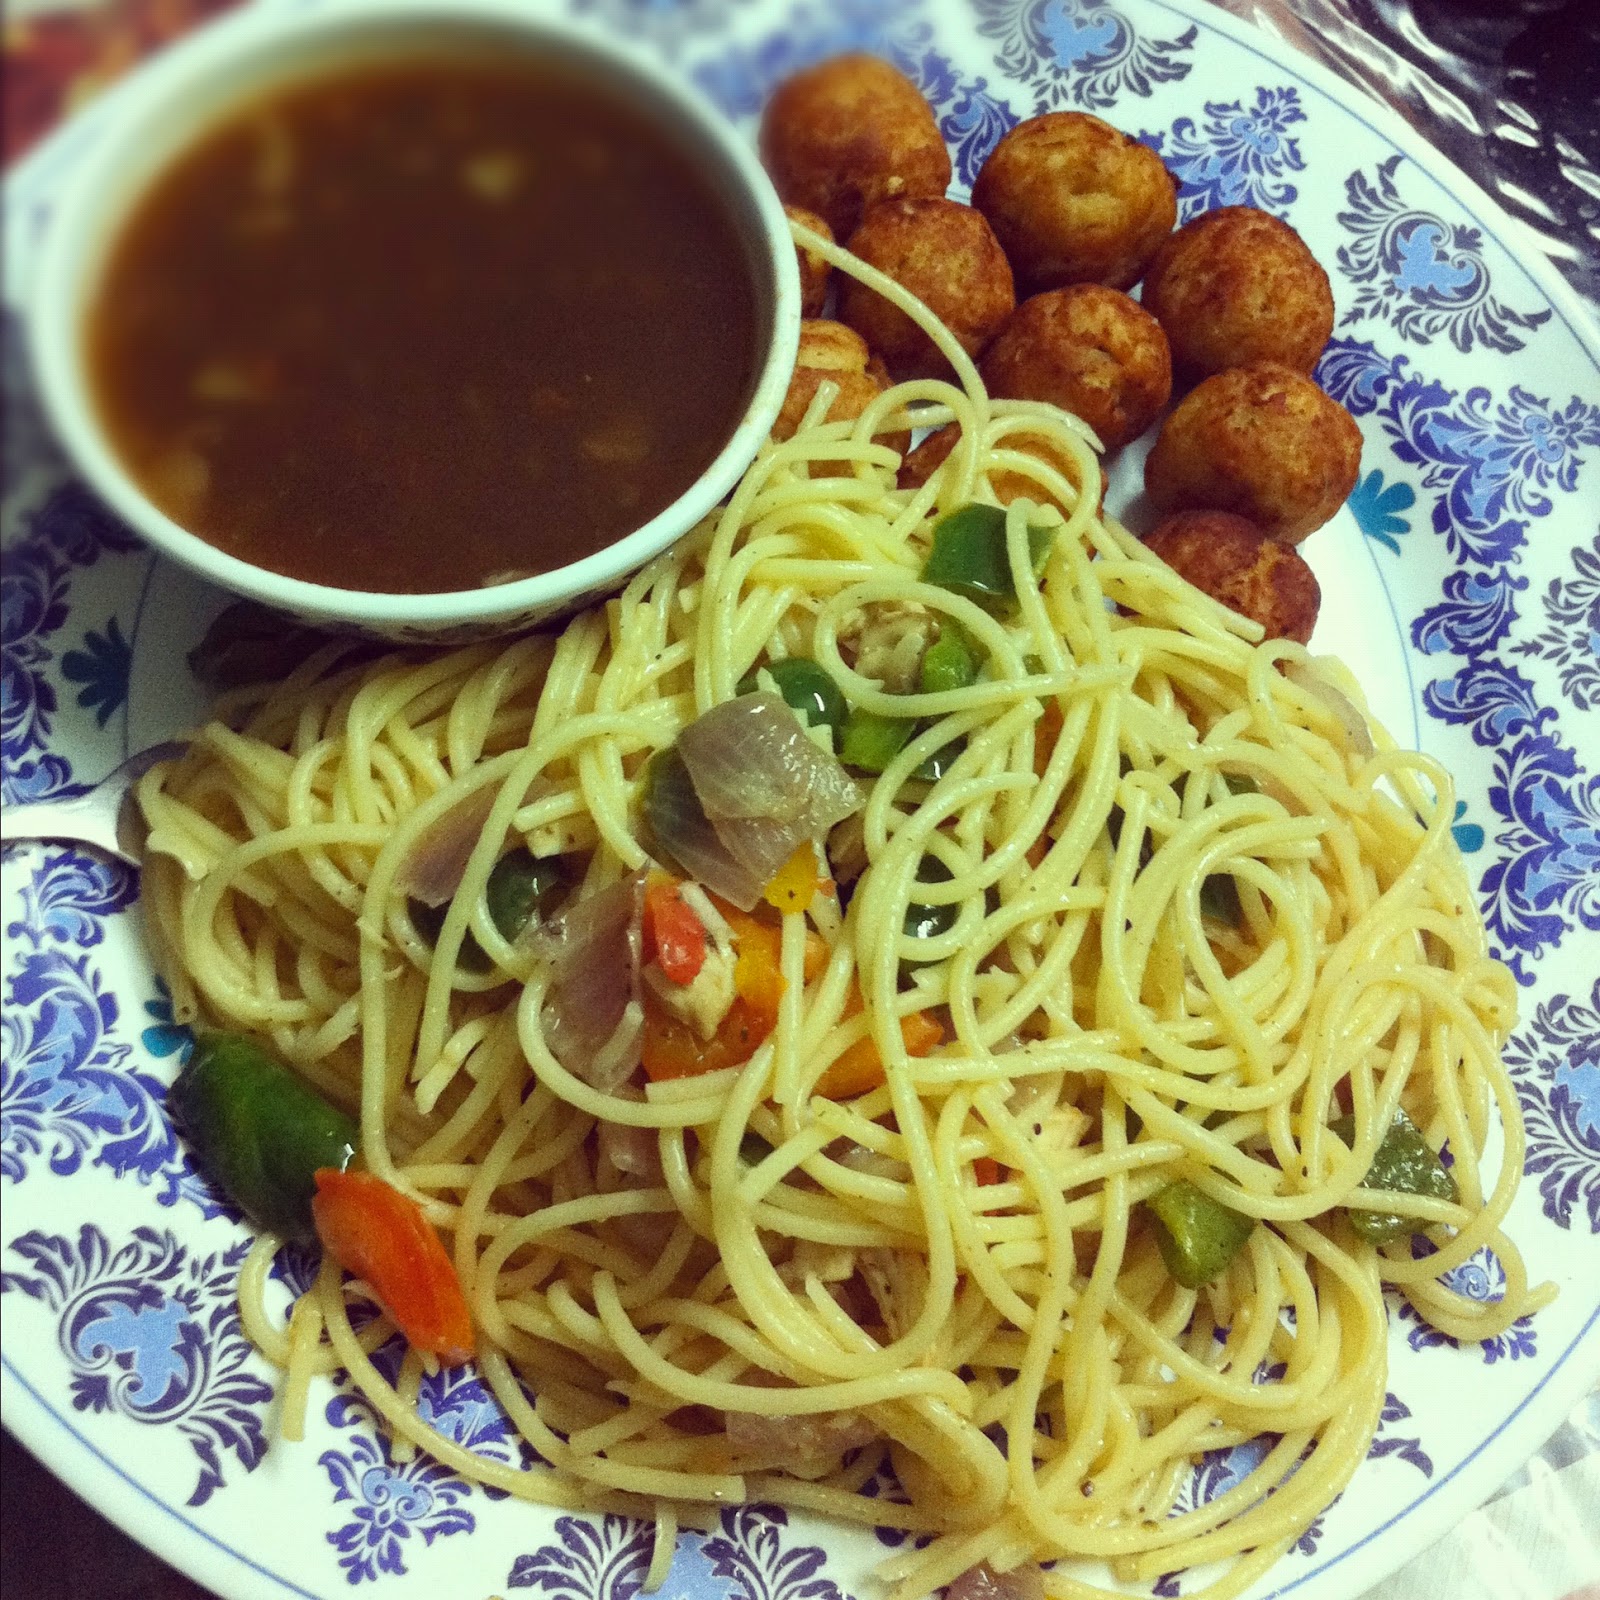
Spaghetti with meatballs.

Food! Italian! Pasta!
My mouth waters and sense of smell heightens at the very thought of food, especially Italian.
I love cooking pasta, it is no rocket science. Just bought Colson's Spaghetti Sticks off the store around the corner and cooked till al-dente.

The new addition that I made to regular pasta, is that I cooked meatballs along with it.
Very easy, Scroll down for recipe.


Ingredients:
Extra-virgin olive oil
1 large onion, 1/4-inch dice
Salt
Pepper (white)
2 cloves garlic, smashed and chopped
1/2 inch garlic, smashed and chopped
1/2 kg chicken (boneless)
2 large eggs
1/4 cup finely chopped fresh Indian parsley leaves
1 cup breadcrumbs
1/2 cup water

How to:
In a pressure cooker heat olive oil. Add onions, ginger, garlic and saute for a minute or till the onions turn pink. Add chicken pieces and add salt and pepper. Saute for about 2 to 3 minutes. Add very little water and put the lid on and cook on pressure till 2 or 3 whistles.
Let the steam escape out and remove the lid. In a mincer, mince the cooked chicken.
In a large bowl, combine eggs, breadcrumbs and the minced chicken. It works well to squish the mixture with your hands until thick dough like texture is obtained. Taste a little of it. The mixture should taste really good! If it doesn't it is probably missing salt. Add more.
Add more anyway.
Shape the meat into desired size. Some people like 'em big some people like 'em small. I prefer meatballs slightly larger than a golf ball.

Preheat the oven to 350 degrees F.
Coat a large saute pan with olive oil and bring to a medium-high heat. Brown the meatballs on all sides. Place them on a cookie sheet and bake them in the preheated oven for about 15 minutes or until the meatballs are cooked all the way through. If using right away, add them to your big pot of marinara sauce. If not using right away, they can be frozen for later use. Serve with pasta and sauce or just eat them straight out of the pot! YUM!
Marinara Sauce recipe:
Ingredients:
1/4 cup extra-virgin olive oil
1/4 pound diced pancetta
2 large onions, cut into 1/4-inch dice
salt
crushed red pepper
4 large garlic cloves, smashed and chopped
4 large tomatoes

How To:
Coat a large saucepan with olive oil and add the pancetta. Bring the pot to a medium-high heat and cook the pancetta for 4 to 5 minutes. Add the onions, season generously with salt and stir to coat with olive oil. Cook the onions for 6 to 7 minutes stirring frequently. The onions should become very soft and aromatic but have no color. Add the garlic and cook for another 2 to 3 minutes stirring frequently.

Pass the tomatoes through the food mill. Be sure to pass all of the pulp through the holes leaving only the stems and the seeds, and be sure to scrape the pulp off of the bottom of the food mill. That's all of the big money stuff! Add the tomatoes to the pot and add about 2 to 3 cups water. Season generously with salt and TASTE IT!!!! Tomatoes take a lot of salt. Season in baby steps and taste every step of the way. Cook the sauce for 2 to 3 hours, stirring occasionally and tasting frequently.

Use the sauce right away on pasta or for any other tomato sauce need. This sauce can also be cooled and stored in the refrigerator for a few days and freezes really well.


Instagram link      Facebook link

Jan 1, 2014

Happy holidays

The most amazing end to a year happened this time.
I got the love of my life... My sweetest little thingy... My baby!!
Amidst a few complications, he was born as a boon to us when I was in caught up in a flood of confusion...( I was evaporating my waters and baby was not getting oxygen n blood anymore, doc decided he was better out than in)
I had a c-section routine and was up in 5 days time..
Restricted activity made me limit my physical and household activities, but that meant I got to spend my entire time with my baby.
Hubby and me are still fighting over naming our little one... The ceremony will be held sometime in February..
Till then, my darling will be called Sai by all and Ambi Sai by me.
I found the true meaning to my life in ambi.